What to Expect on Water Heater Installation Day
Updated Jul 2026 · 6 min read
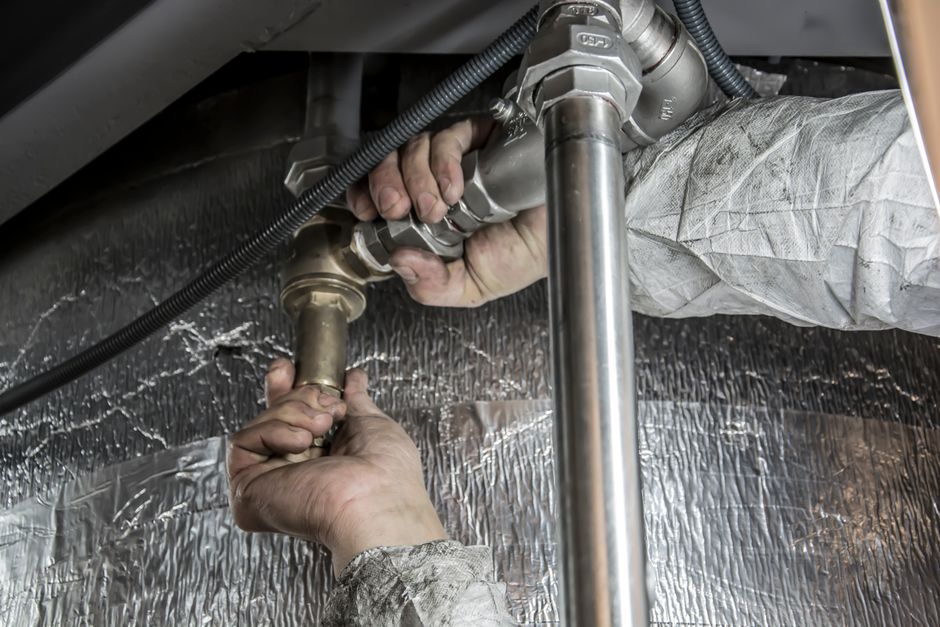
Photo by Anıl Karakaya on Pexels (Pexels License)
The day your new water heater goes in
You've already made the big decisions — you know your old unit is on its way out, you've picked a company, and maybe you've even settled on tank versus tankless. What surprises most homeowners isn't the choice itself; it's the day the crew actually shows up. Knowing how a replacement unfolds turns a stressful morning into a routine appointment, and it helps you spot a professional who does the job right.
This is a walkthrough of what a typical water heater replacement looks like from the moment the truck pulls up to the moment you have hot water again — and how to make the visit go smoothly.
Before the crew arrives
A good installer sets expectations ahead of time, but there are a few things you can do on your end.
Clear a path to the unit
Water heaters live in tight spots — basements, garages, utility closets, and attics. The technicians have to carry the old unit out and the new one in, and both are heavy and awkward. Move boxes, laundry baskets, bikes, and anything stored around the heater the night before. If the unit is in a closet, clear the hallway leading to it too.
Know where your shutoffs are
The crew will handle this, but it helps to know the location of your main water shutoff and, for a gas unit, your gas shutoff. If you can't find them, mention it when you book — a professional will locate and test them as part of the job.
Plan around the water being off
Expect to have no hot water, and at times no water at all, while the work is underway. Run the dishwasher or do laundry the night before if you can, and hold off on any task that needs running water until the crew gives you the all-clear.
Step one: inspection and confirmation
Before anything comes apart, a careful installer looks at what's actually there. They'll confirm the new unit matches your home's needs, check the existing connections, and look for anything the quote didn't anticipate — corroded fittings, an undersized gas line, outdated venting, or a drain pan that needs replacing.
This is the moment to ask questions. If the technician flags extra work, ask them to explain why it's needed and how it changes the scope before they proceed. A trustworthy pro walks you through it rather than simply adding it to the bill.
Step two: draining and removing the old unit
With the water and power or gas shut off, the crew drains the old tank. A conventional tank holds a lot of water, so this takes time and usually runs out through a garden hose to a drain or outside.
Once it's empty, they disconnect the water lines, the gas line or electrical wiring, and the venting, then carry the old unit out. Reputable companies haul the old heater away and dispose of or recycle it for you — worth confirming when you book, because you don't want it left in your garage.
Step three: setting and connecting the new unit
The new heater is positioned, leveled, and connected. What happens here depends on the type you chose:
- Tank replacements are often the most straightforward, especially when the new unit is a similar size and fuel type to the old one.
- Tank-to-tankless conversions usually involve more work — new mounting, resized gas lines, and different venting — because a tankless unit heats water on demand rather than storing it.
- Fuel or venting changes (say, moving to a high-efficiency model) can add steps like new venting runs or a condensate drain.
A quality installation includes details that are easy to overlook: a new temperature-and-pressure relief valve and discharge pipe, proper seismic strapping where local code requires it, a drip pan under units installed indoors, and correctly sloped, sealed venting on gas models. These aren't upsells — they're the difference between a safe install and a callback.
Step four: filling, firing up, and testing
With everything connected, the crew refills the tank (or opens the water supply on a tankless unit), bleeds air from the lines, and checks every joint for leaks. Then they restore power or light the burner and bring the unit up to temperature.
Gas installations get special attention here. The technician should check for gas leaks at every new connection and confirm the unit vents properly, so combustion gases go outside rather than into your home. The U.S. Department of Energy notes that setting your water heater thermostat to a lower temperature reduces standby heat loss, and a good installer will set a safe, efficient temperature and show you how to adjust it.
Step five: walkthrough and cleanup
Before they leave, a professional crew walks you through the finished job. Expect them to:
- Show you the new shutoffs and how to turn the unit off in an emergency.
- Explain the thermostat setting and how to change it.
- Point out the relief valve and, on tankless models, mention any recommended maintenance like periodic flushing.
- Hand over the manufacturer's paperwork and explain the warranty.
- Clean up — no old parts, packaging, or puddles left behind.
Hot water won't be instant; the tank needs time to heat a full load. On a tankless unit, hot water arrives once the system is running, though it may take a moment to reach distant faucets.
Permits and inspections
Many areas require a permit for a water heater replacement, and some require a follow-up inspection by a local official. This protects you: it confirms the work meets code for venting, gas, and safety. A licensed company handles the permit as part of the job. If an installer suggests skipping the permit to save time or money, treat that as a warning sign — unpermitted work can cause problems when you sell your home or file an insurance claim.
Questions worth asking on the day
- Is the old unit being hauled away and recycled?
- Was a permit pulled, and will there be an inspection?
- What's covered under the manufacturer's warranty, and is the labor guaranteed?
- What maintenance keeps this unit running well, and how often?
The bottom line
A water heater replacement is a well-worn routine for an experienced crew — but the details separate a lasting install from one that leaks, underperforms, or fails an inspection. Clear the space, ask questions freely, and expect a professional to leave you with hot water, clean floors, and a clear understanding of your new system. If you're still lining up a company, browse the rated local pros in your area to find someone who treats installation day with the care it deserves.